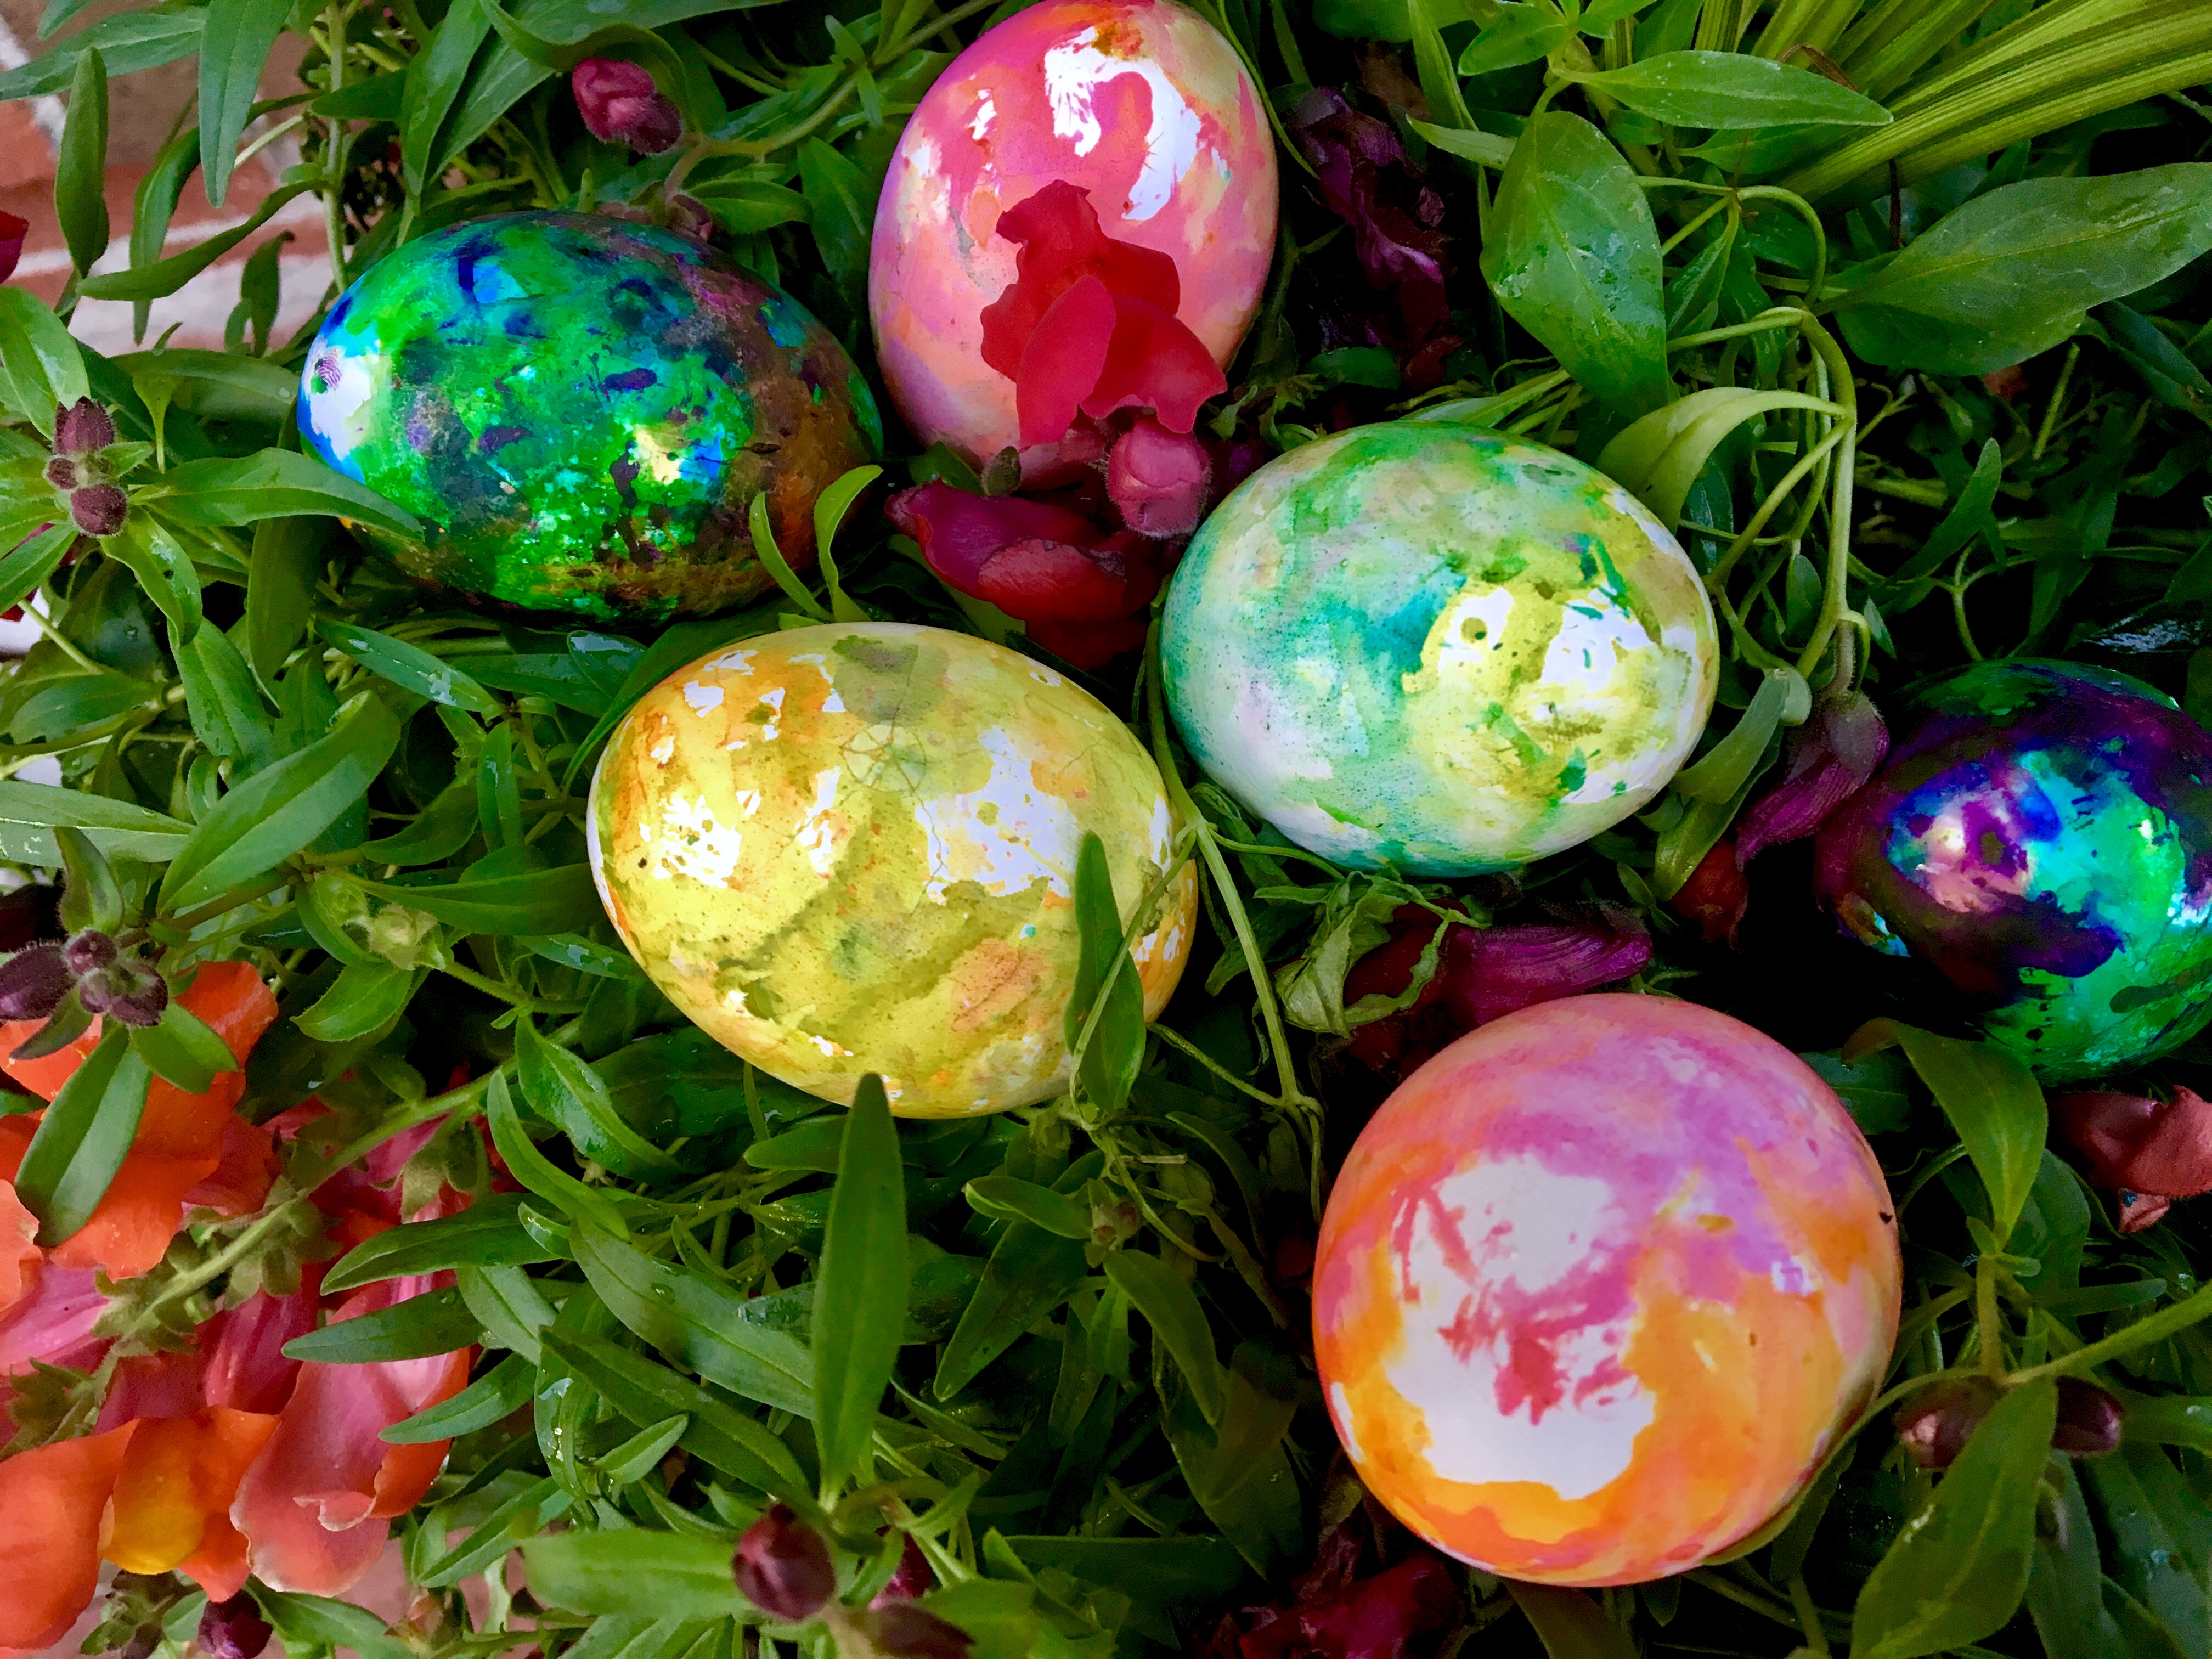
Experiment Exchange

  • About
  • Curriculum Store
  • Join/Login

Make Marbled Eggs

Make Marbled Eggs
Make Marbled Eggs
  • Activity Time: 15-30 minutes
  • Recommended Ages: 3-4, 5-7, 8-11, 12+
  • Adult Involvement: Low
Login to Print
  • Facebook
  • Twitter
  • Google Plus
  • Pinterest
Add to Favorites

Make Marbled Eggs

By Curiosity Zone February 20, 2023

In this science experiment, kids will decorate eggs while learning about acid-base reactions.

Egg shells contain calcium carbonate, which is a base. When combined with an acid, like vinegar, a chemical reaction causes the egg shell to begin to dissolve.  This allows the shell to take on dye more readily.

Safety Notes

  • Take care not to splash vinegar into your eyes.
  • Don’t touch the dye with bare hands — it will stain your skin.

Materials

  • Hard boiled eggs - as many as desired
  • Vinegar - Approx 2 T. for every 6 eggs
  • Food coloring
  • Colander or strainer

Create shopping list

Instructions

Put a colander or strainer in the sink or bowl. Add one or more hard-boiled eggs.

Drizzle the eggs with vinegar and gently roll them around. Don't completely saturate your eggs -- you are trying to create spotty coverage.  Allow the vinegar on the egg to dry completely.  Repeat until all of your eggs have been splashed with vinegar and allowed to dry.

Now choose the first color of food coloring you'd like to use, working from lightest to darkest.  Add one of your dry vinegar-splashed eggs to the colander held over a sink or bowl.  Drip a drop or two of food coloring directly onto the egg. Gently agitate the colander or strainer so that the egg is turning in the dye. This will cause the color to spread out onto the egg. Let the color sit for about a minute.  Remove the egg and rinse the colander.

Now repeat -- add your second color by again dripping a few drops of the color on the egg and rolling it around in the colander.  Allow the egg to sit for another minute.

Repeat with the remaining colors you are using, always working lightest to darkest. Once you are finished adding colors, and the eggs have sat for a minute or so, lightly rinse the eggs in cool water. Allow the eggs to sit for one more minute, then place on a paper towel to air dry.

You can try this process with multiple eggs at a time if you are less concerned about how each egg turns out.

You may also like

View Experiment

Egg in a Bottle

View Experiment

Recycle Paper Bags into Bird’s Nest Art Projects

View Experiment

Make Bird Feeders from Recycled Materials

Post navigation

← Egg in a Bottle
Explore the Wonders of Spring with Simple Science →

Experiment Index

View Full Experiment Index

Recent Posts

  • Explore the Wonders of Spring with Simple Science
  • Make Marbled Eggs
  • Egg in a Bottle
  • Recycle Paper Bags into Bird’s Nest Art Projects
  • Make Bird Feeders from Recycled Materials

Categories

  • Animals
  • Arts, Crafts & Maker
  • Chemistry/Matter
  • Cooking & Food
  • Curriculum & Guides
  • Dinnertable Science
  • Earth & Space
  • Earth Day
  • Easter
  • Fall
  • Halloween
  • Living Systems
  • Outdoor Activities
  • Physics/Force, Energy & Motion
  • Preschool
  • Spring
  • St. Patrick's Day
  • Summer
  • Thanksgiving
  • Uncategorized
  • Valentine's Day
  • Winter
  • Winter Holidays
Twitter Facebook Pinterest Instagram    Curriculum Store | Startup Guides

Newsletter

Receive experiment inspiration in your inbox:

Thanks for signing up!

All Experiments
Grades 3-5
Grades K-2
Preschool

About Us

  • About Us
  • Experiment Index
  • Contact Us
  • Jobs

Find Us

Twitter Facebook Pinterest Instagram

Resources

  • Curriculum Store
  • Start a Program
Experiment Exchange: Fun for Little Scientists

© 2019 Curiosity Zone Science - All rights reserved.
  • Terms of Service
  • Privacy Statement
  • Legal Notices & Trademarks